Weaving, the ancient art of intertwining threads to create beautiful textiles, has experienced a remarkable resurgence in recent years. One of the most rewarding projects for a weaving enthusiast is creating a handwoven pillow. Not only do these pieces make for stunning home decor (and make a great talking-piece), but they also allow you to infuse your own personal style into your living space. If you're new to weaving or a seasoned pro looking for fresh ideas, here are some tips for weaving the perfect pillow.
1. Plan Your Design
Sketch out a rough design for your pillow, considering the size and the colors and patterns you want to incorporate. Whether you opt for a simple, monochromatic design or a complex pattern, having a plan will keep you on track during the weaving process.
2. Gather Your Materials:
Before diving into your weaving project, make sure you have all the necessary materials on hand. You'll need a weaving loom, warp thread, various yarns in your preferred colors and textures, a shuttle, scissors, a tapestry needle, pillow form (or polyfill), and a weaving comb/beater.
3. Warp Your Loom
The warp is the foundation of your weaving, running vertically on the loom. Carefully measure and attach the warp threads, making sure they are evenly spaced and under proper tension. This step is crucial for ensuring your pillow maintains its shape. Additionally, make sure you leave more warp thread than you think you’ll need so that you can compensate for any tension or extra space you’ll need to sew along the edges of your completed pillow case.
4. Choose Your Weaving Technique: There are various weaving techniques to explore, including plain weave, twill, fringe, and more. Experiment with different textures and patterns to achieve your desired look.
5. Pay Attention to Tension
Consistent tension is key to a well-woven pillow. Make sure your weft threads are neither too loose nor too tight. Use a weaving comb to press down your weft rows firmly and maintain even spacing.
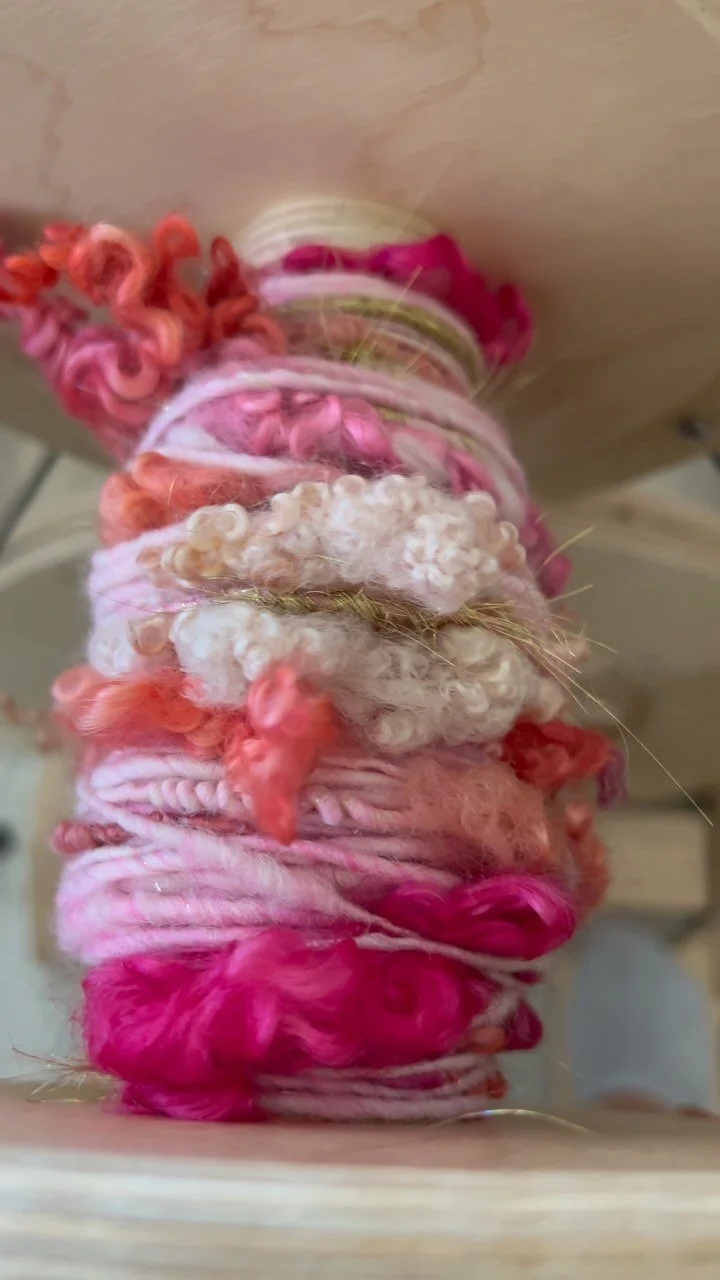
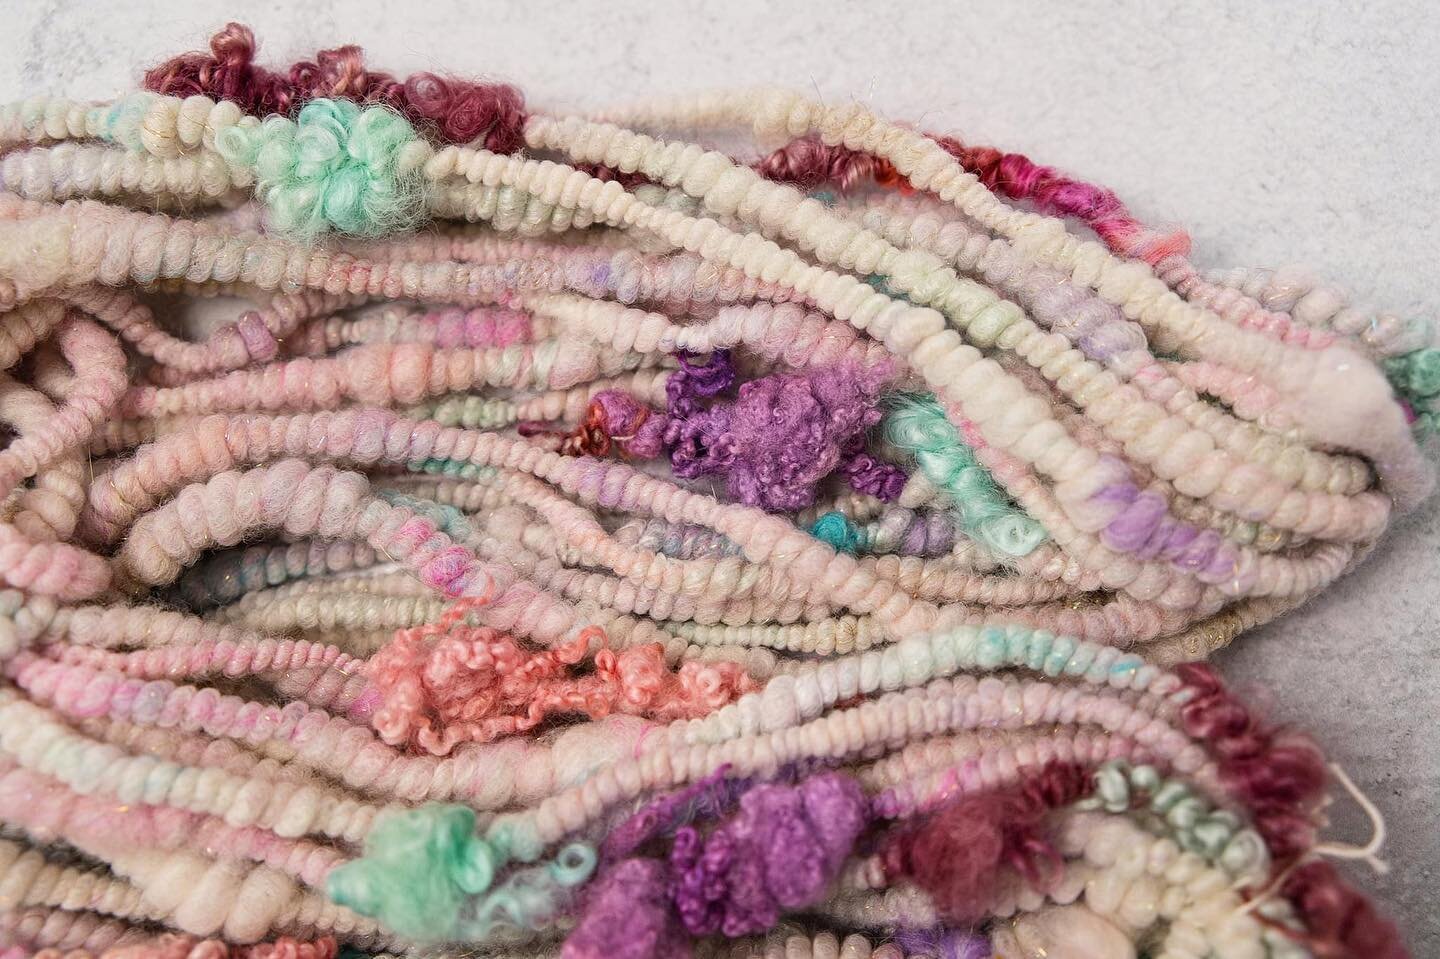
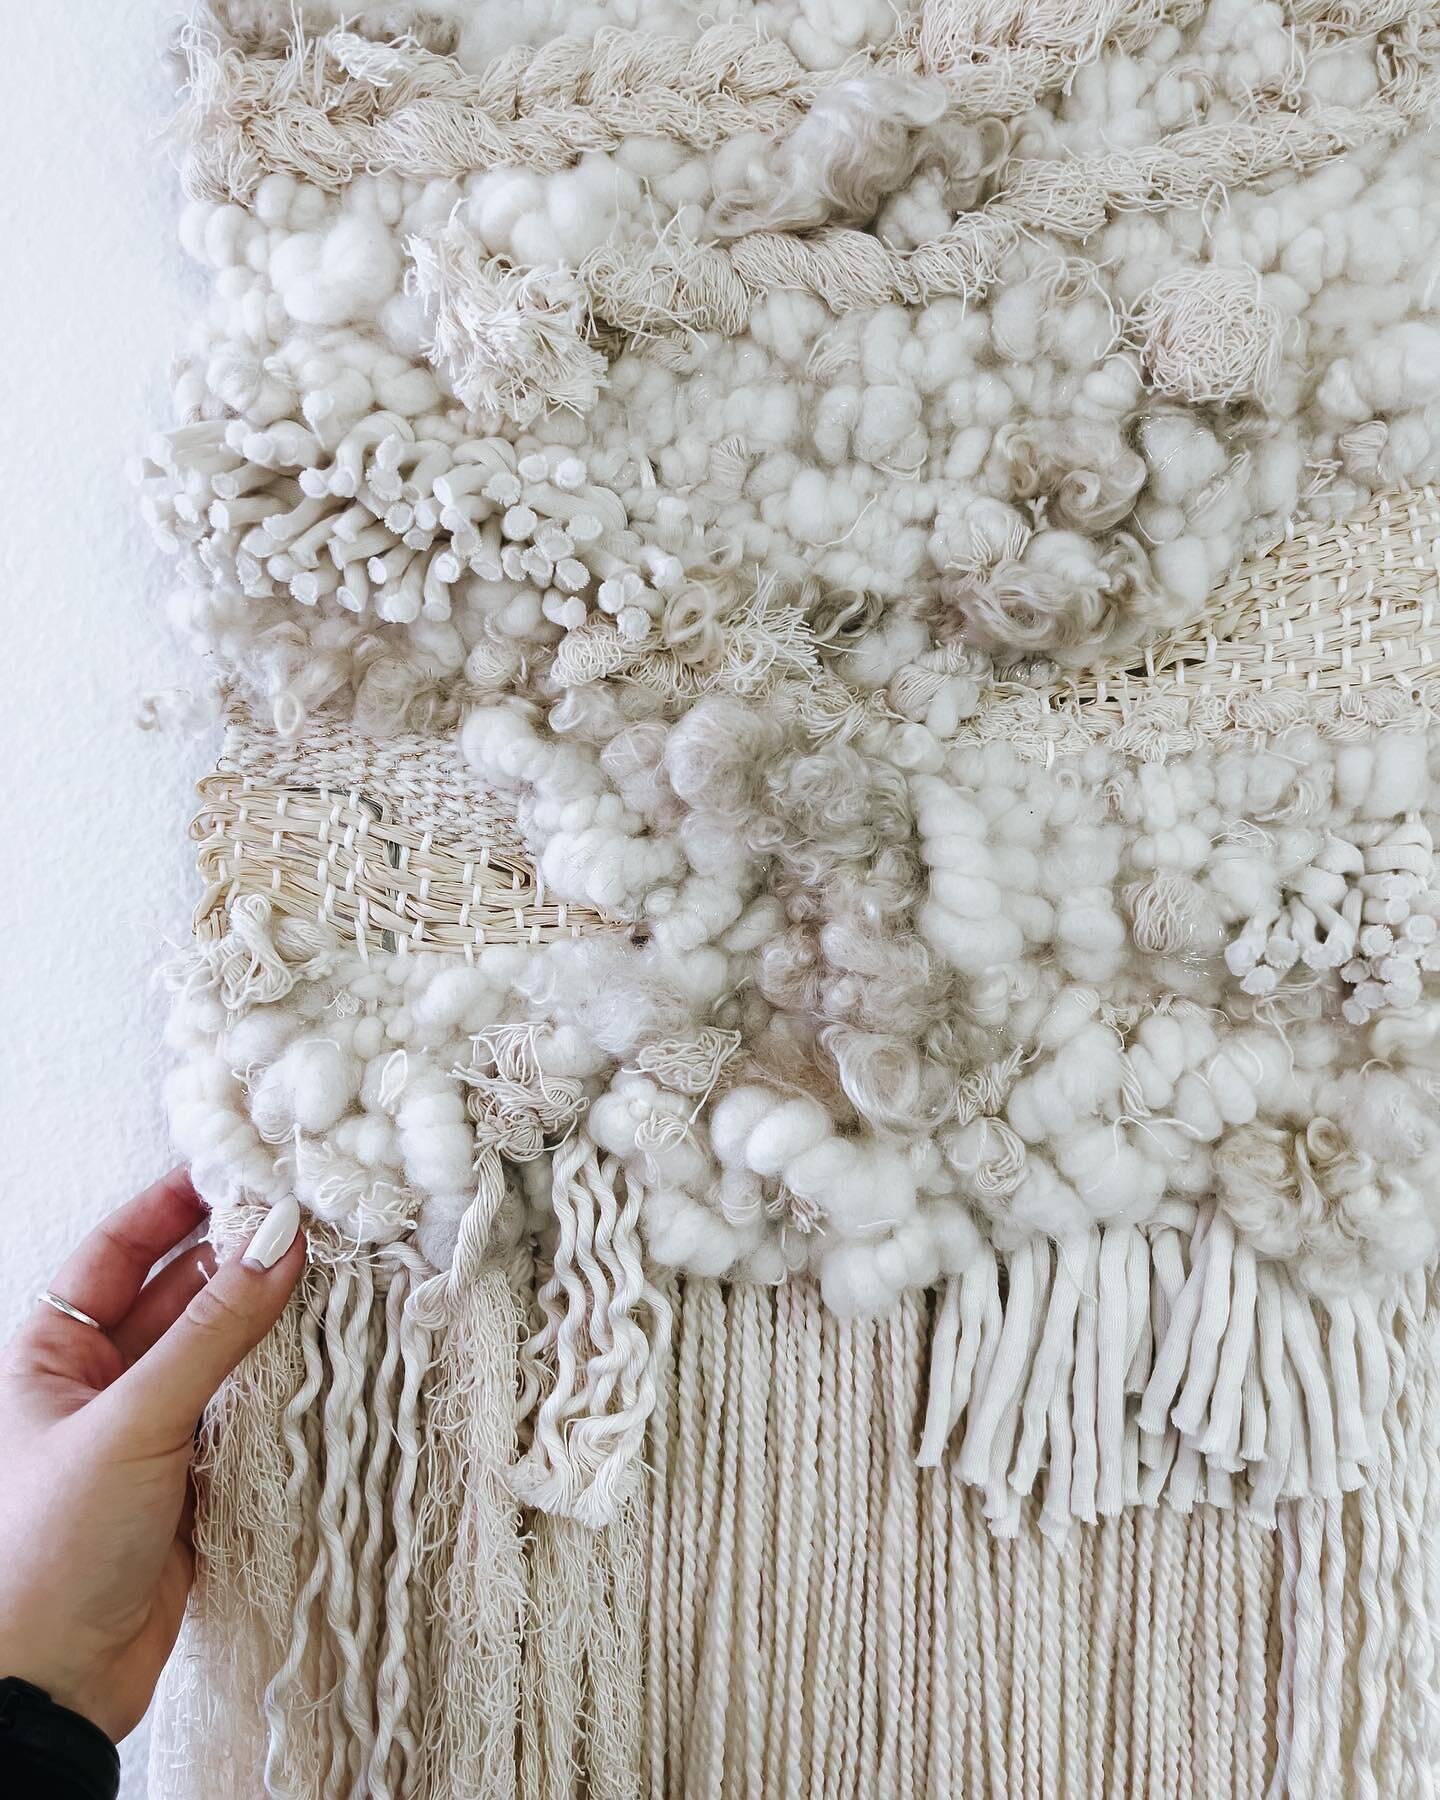
6. Add Texture and Depth
To create a visually engaging pillow, consider adding texture to your weave. Incorporate different yarn weights, materials, or techniques like rya knots or fringe for added depth and character.
7. Be Mindful of Color Transitions
If you're using multiple colors in your design, plan your color transitions carefully. Weave in loose ends neatly, and ensure the colors blend harmoniously.
8. Create a Hem
To prevent fraying and give your pillow a polished edge, weave a hem or fold over the ends of your fabric before you finish the piece. This will help to ensure the security of your weave at its outermost edges.
9. Remove Your Weaving from the Loom
Once you've completed your design and are satisfied with the length, carefully remove your weaving from the loom. Take your time to avoid any unraveling or damage.
10. Assemble Your Pillow
Place your woven fabric on the cardboard or foam board cut to the size of your pillow. Fold the fabric in half, right sides together, and sew three sides shut. Turn it right side out, stuff it with a pillow insert or filling of your choice, and hand-stitch the final side closed.
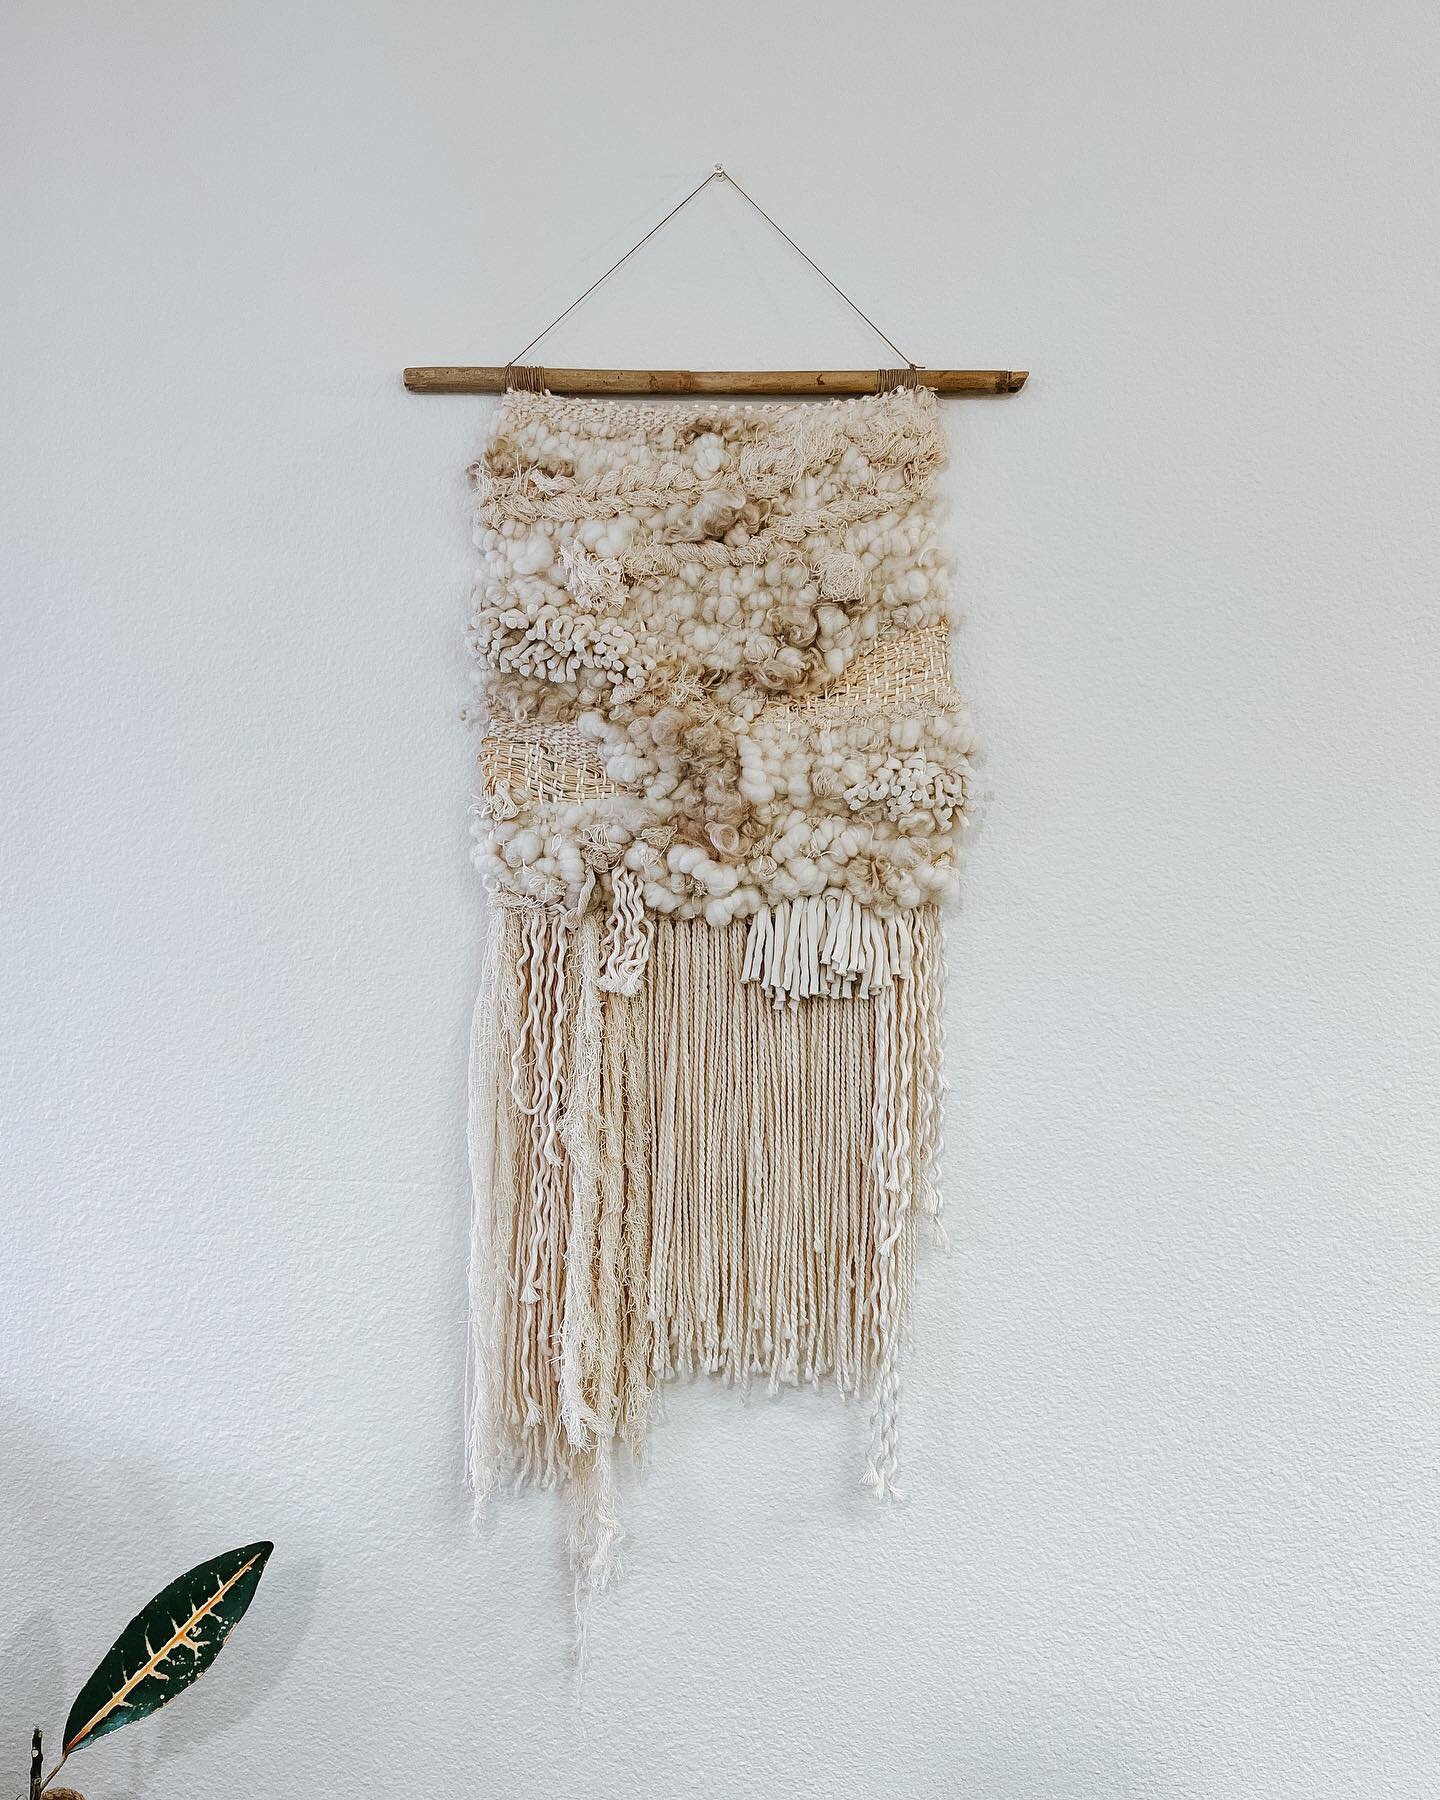
11. Finishing Touches
Consider adding decorative elements like tassels, buttons, or embroidery to enhance the overall look of your pillow.
12. Enjoy Your Handwoven Masterpiece
Once your pillow is complete, place it on your couch, bed, or favorite chair, and admire your handwoven masterpiece. Revel in the fact that you've created a unique and personalized piece of home decor that showcases your weaving skills and artistic flair.
Weaving a pillow can be a delightful and rewarding experience! It allows you to explore your creativity, experiment with different techniques, and create a functional piece of art that adds a touch of handmade warmth to your living space. So, gather your materials, let your imagination run wild, and start weaving your perfect pillow today. Happy weaving!
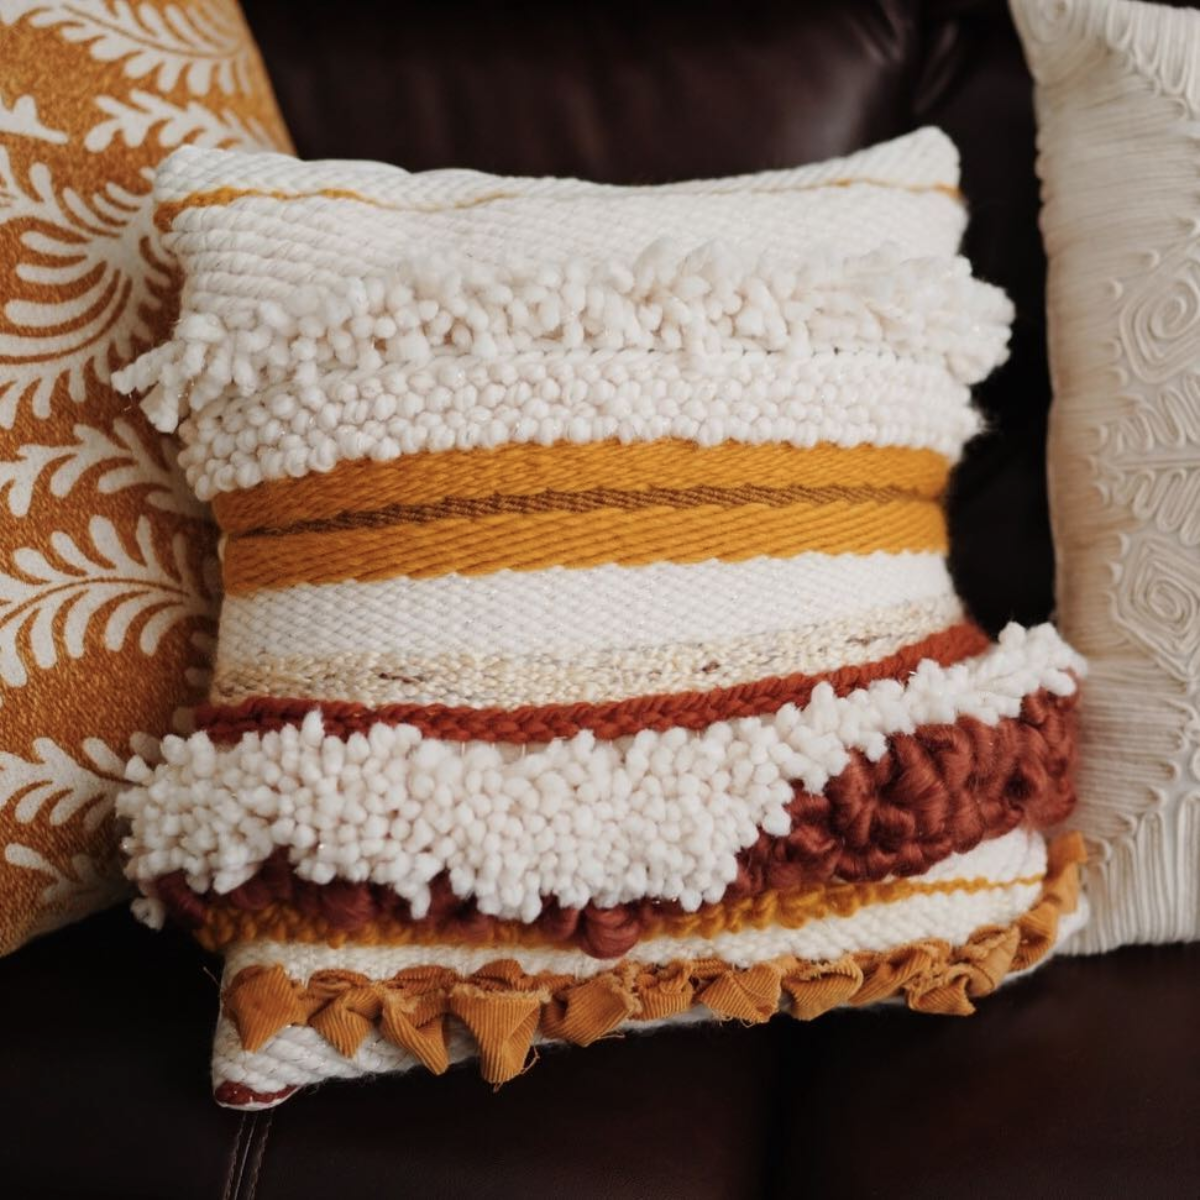
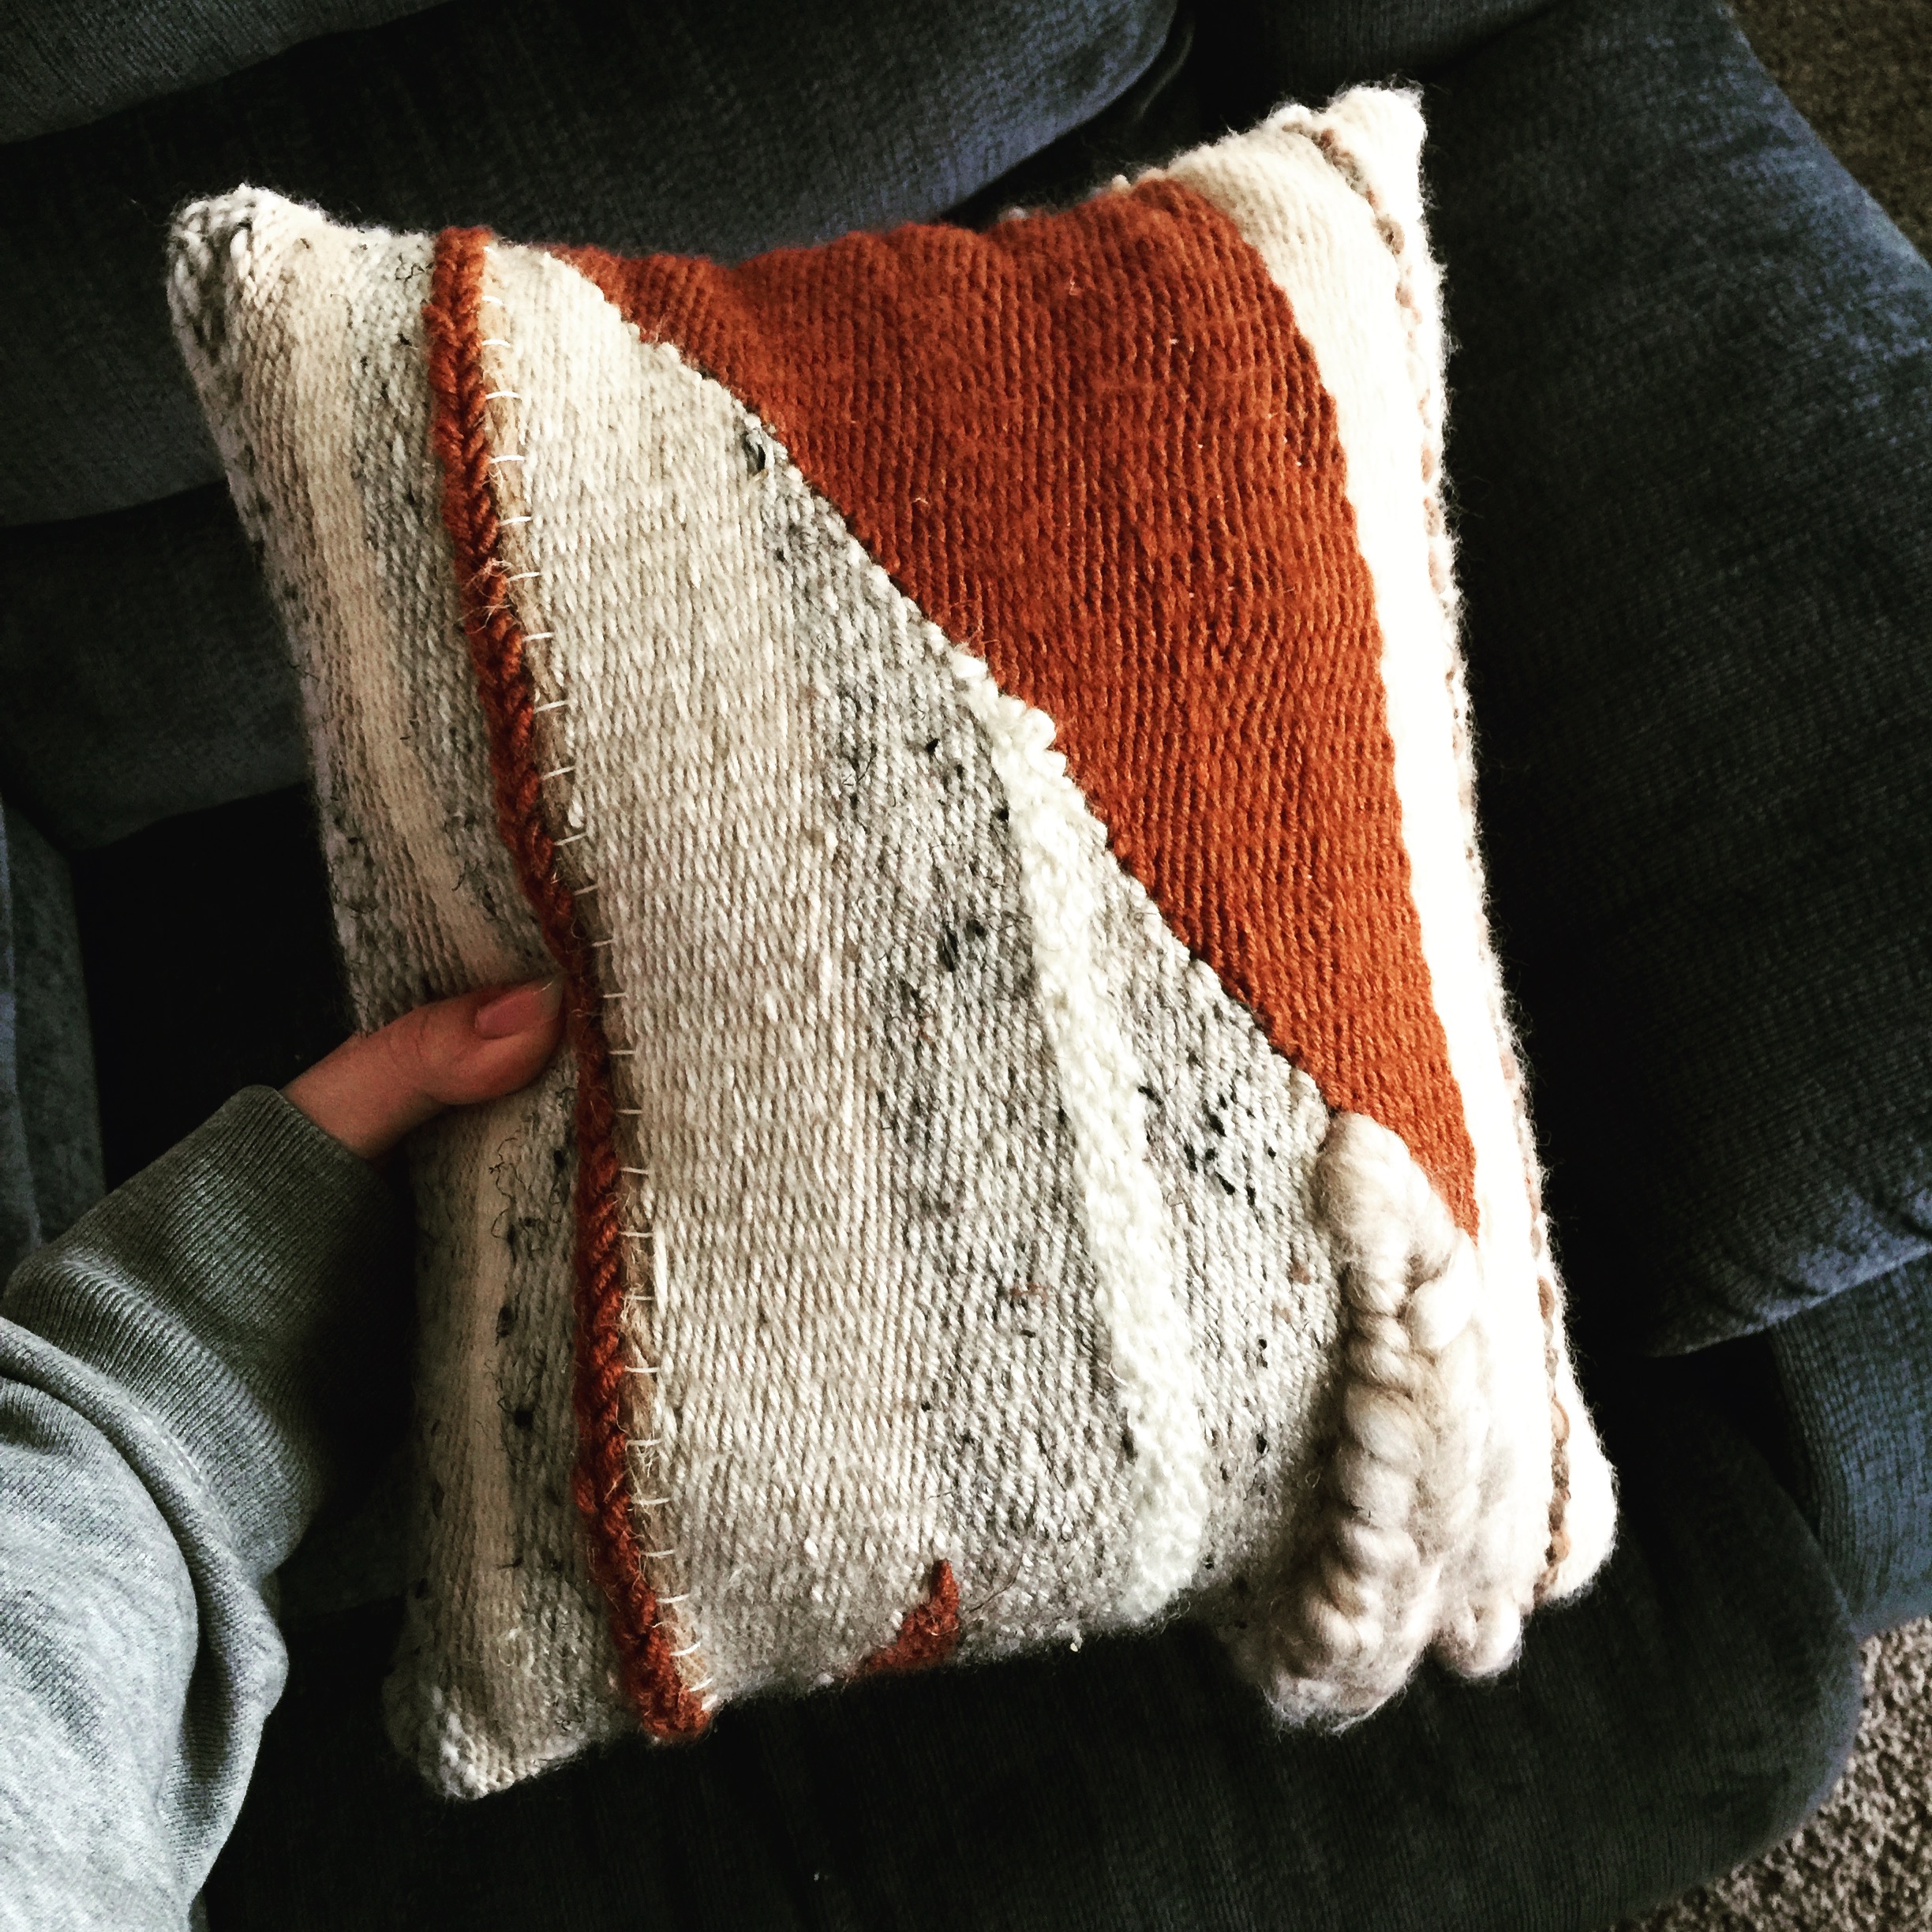
*Below are some examples of pillows I’ve made with weaving & punch needle techniques.